P61 Cockpit Kit Installation by James Brown
Hi Brian!
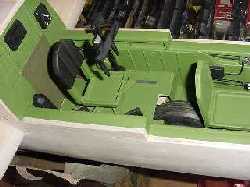
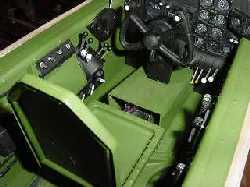
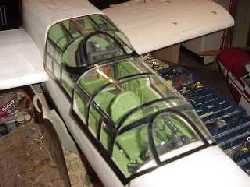
First of all, thank you for the seatbacks. As you can see in the included pics I have already used them!
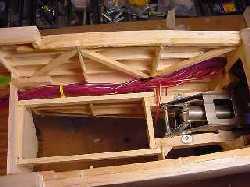
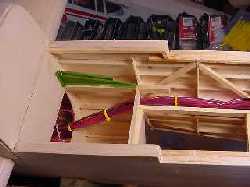
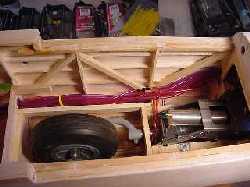
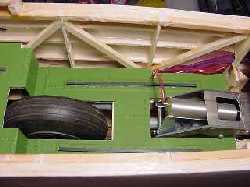
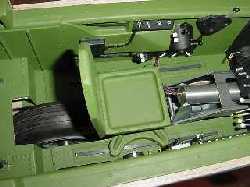
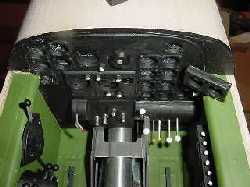
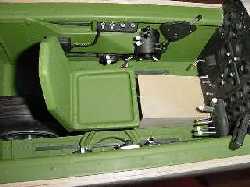
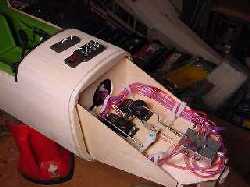
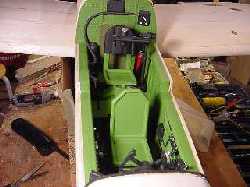
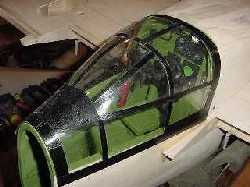
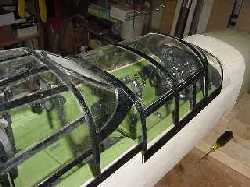
Pics show what I did with your kit and I must say that you have done a great job with it. It’s a very tough bird to work with. All sub assemblies are just resting against each other and won’t be glued in until after I glass the bird and finish it. There are still a few wires, hoses, and doo-hickeys to put in but it is 95% done.
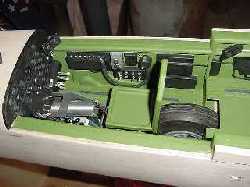
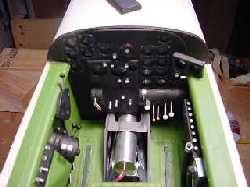
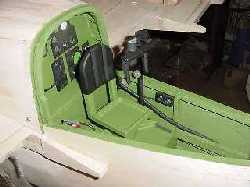
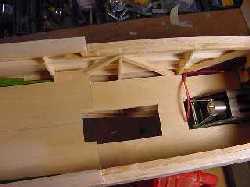
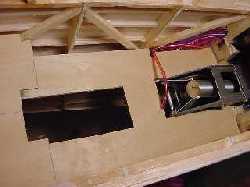
You can see what I did in the sequence shots to open up the interior of the fuse by cutting out cross-members and cutting down bulkhead widths. I became concerned for structure safety as this section takes all of the landing impacts on the nose gear. You can see that I have added hardwood to the ledge of the cockpit, as well as 1/4 square hardwood diagonal braces on the side. I also added a hardwood 1/4 x 1/2 frame back from the gear rails to the rear bulkhead. Then I added a 1/8″ ply floor. Some of this squeezed the overall width down about 1/2″. It’s obvious how much the gear assembly and retract cylinder pushed into the pilot’s location. (Need to find a very bow-legged pilot to wrap his legs around the gearbox to get at the rudder-pedal!) I had to move the dash off-center a little to save all of the instruments and then shaved down the left side of the dash to fit. I haven’t finished the dash hood yet or fit it to the windshield – but I’ll do that when I complete it. The gun-sight is done but doesn’t show in the pics – yet! The extra “dial” in the top center of the dash is the pneumatic landing gear’s pressure indicator: seemed to be a good place to put it and I’ll be able to see the graduated pressure piston sticking out through the windows.
Have a good one and thanks again.
Jim Brown, jl****@ea*******.net